

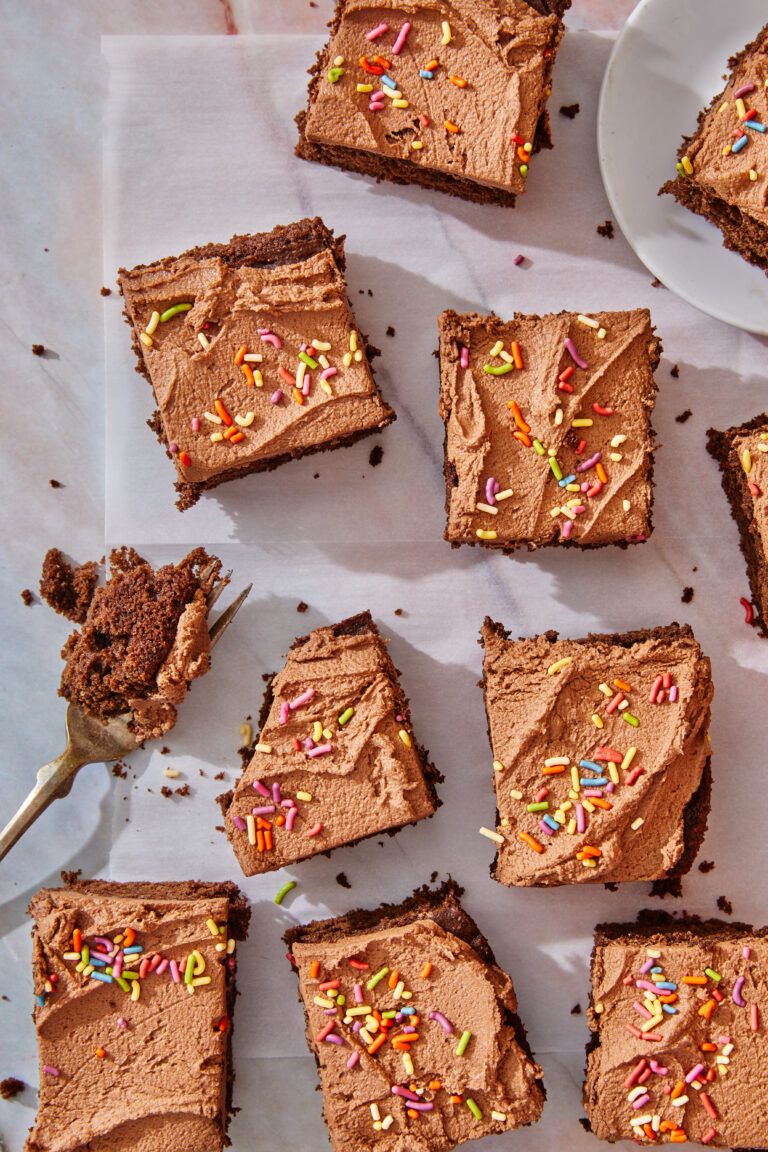
Thick and fudgy red velvet brownies are the ultimate Valentine’s Day desserts. With less than 30 minutes of hands on time, this easy gluten free and dairy free recipe is any chocolate lover’s dream!
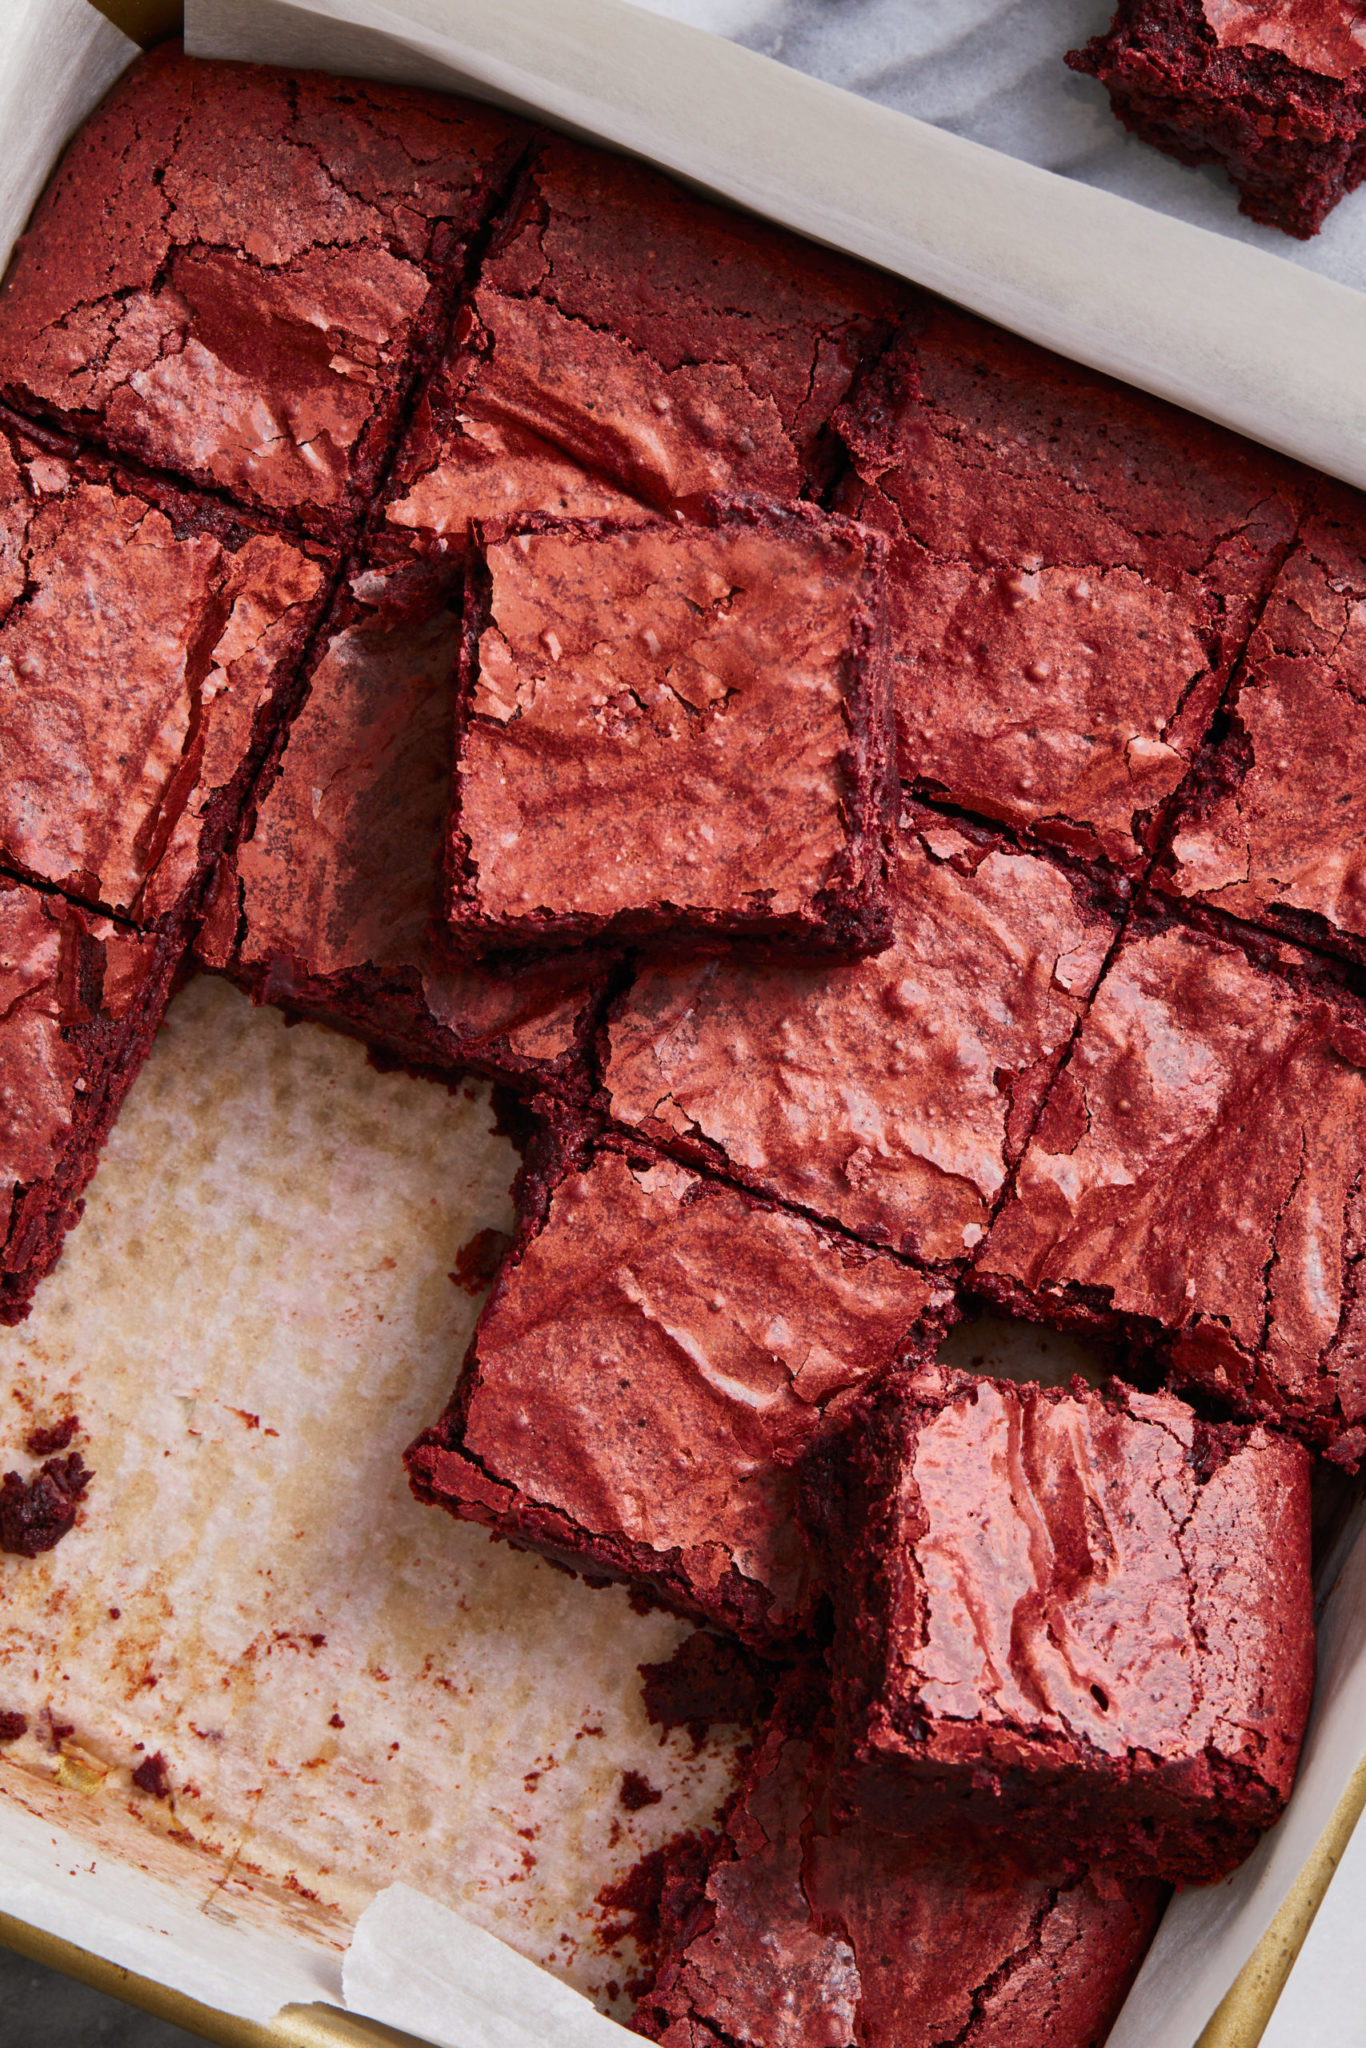
Just in time for Valentine’s Day, I decided to give my favorite brownie recipe a makeover. Sweetened with cane sugar and made using a combination of real chocolate and cocoa powder and adding a touch of red velvet emulsion for a rich red velvet flavor.
HOW TO MAKE RED VELVET BROWNIES RECIPE
- dark chocolate chips or chopped chocolate (dairy free)
- cane sugar
- vegan butter
- eggs or an egg replacement will work but you won’t get the crackly top
- all purpose gluten free baking flour – measure for measure or 1:1
- unsweetened cocoa powder
- red velvet emulsion – I used Lorann Oils or you could use red food coloring
- sea salt salt
- extras – flaky sea salt for topping, chopped chocolate for chunks, walnuts or whatever your heart desires!
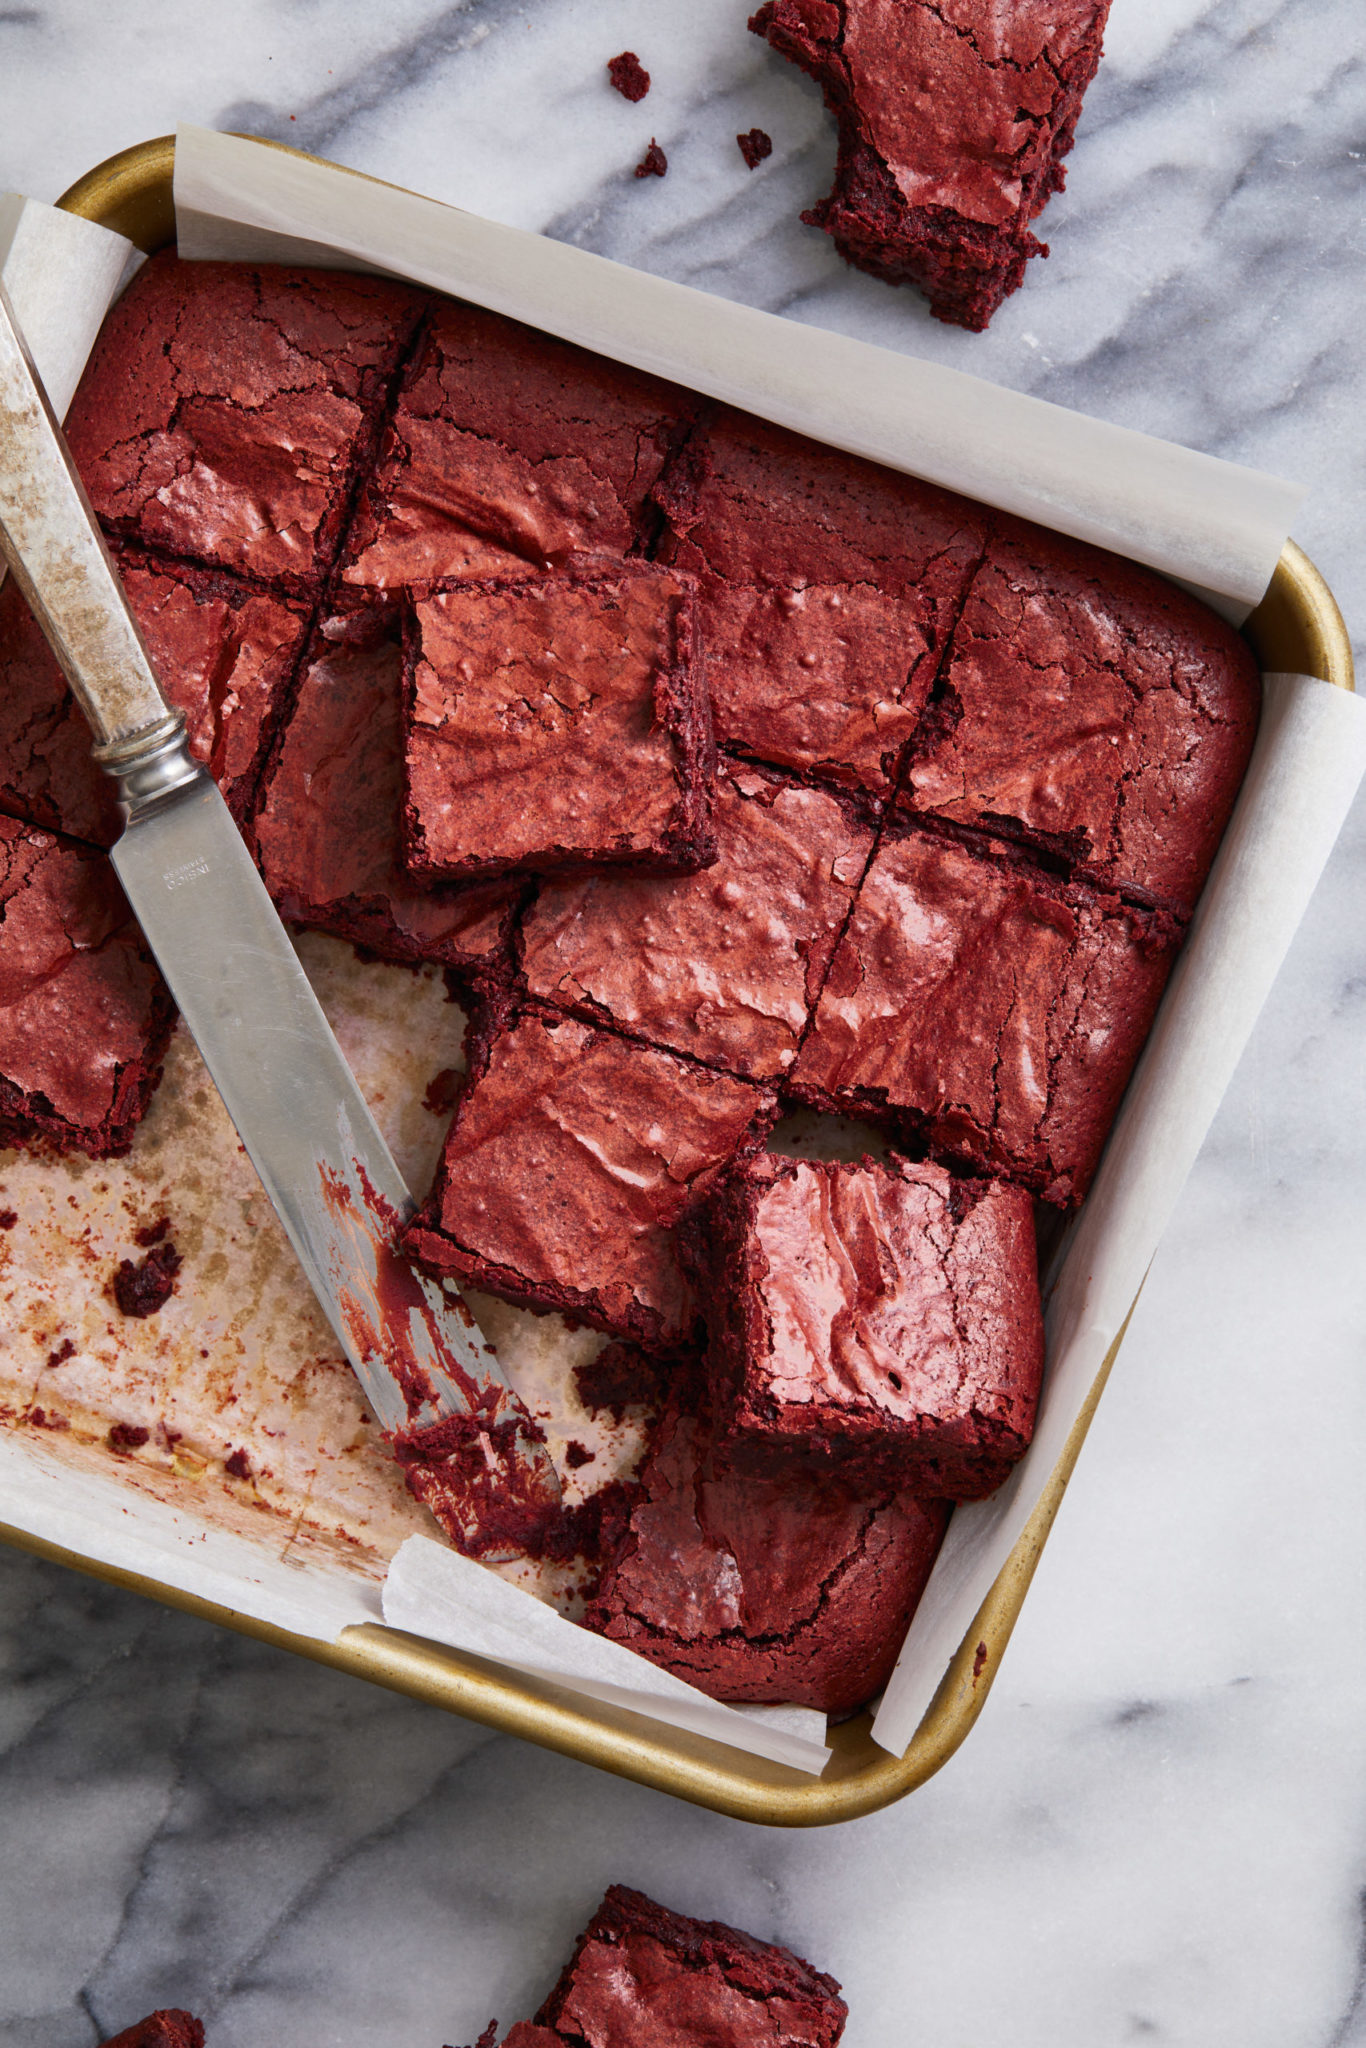
This recipe comes together quickly using just one bowl. You will be enjoying these brownies in no time!
- In a large heat proof bowl, I melted the chocolate, butter, and sugar in the microwave. I stopped every 45 seconds or so to stir the chocolate until completely melted and smooth.
- Then I used a hand mixer to beat in the eggs and then added in the red velvet emulsion
- Next, I folded in the gluten free baking flour, salt and the cocoa powder until combined.
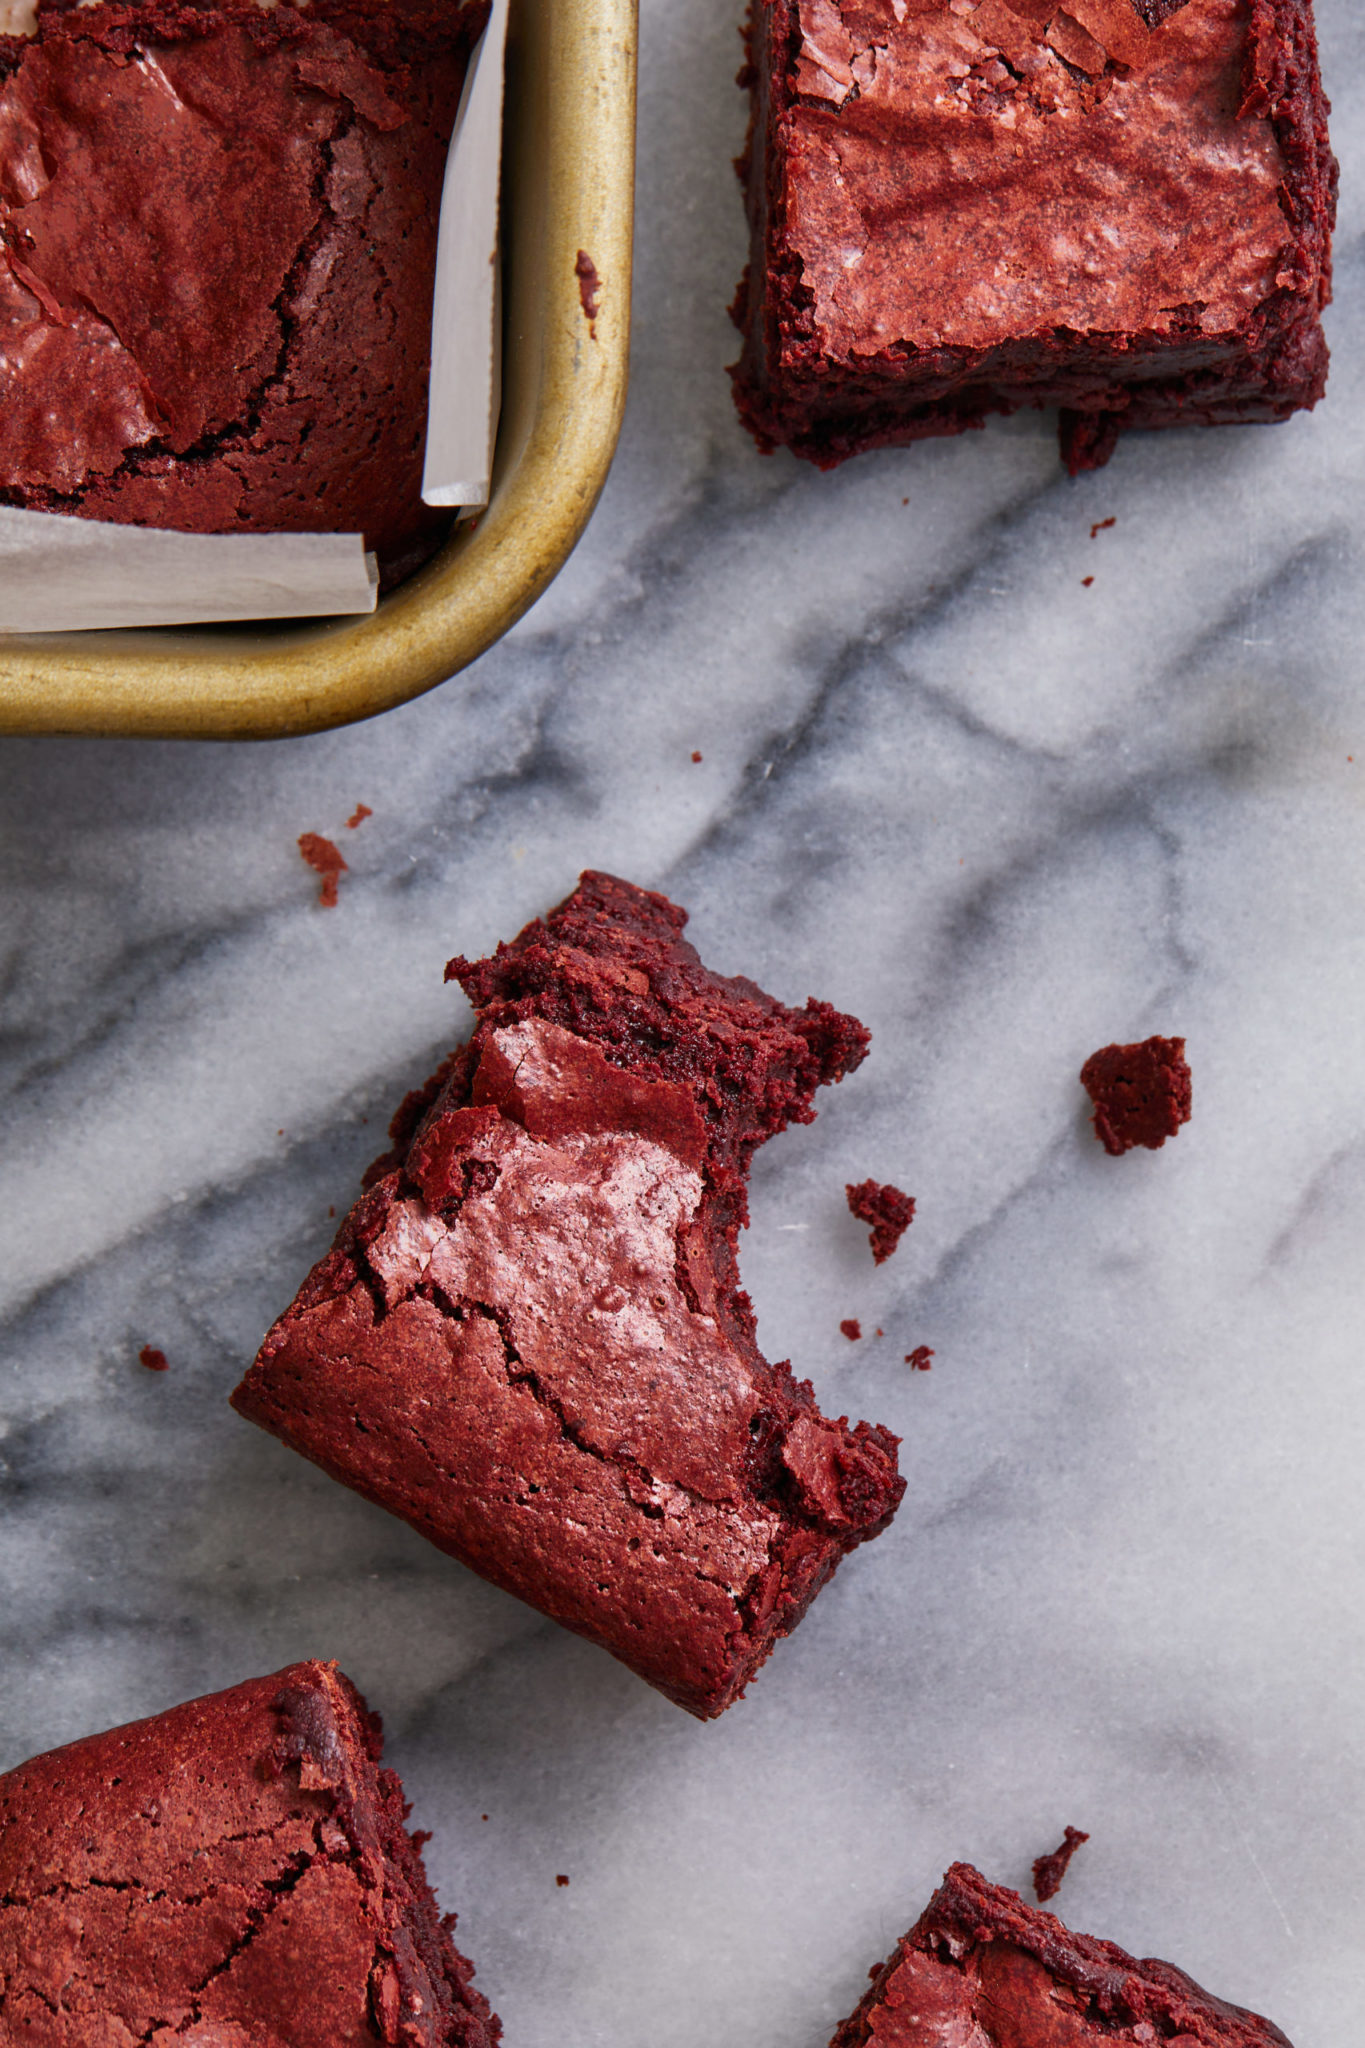
- Finally, I baked the brownies until they were almost done–this is the key to a fudgy brownie. A toothpick inserted will not come out clean, that’s okay. The brownies will set as they cool.
Can’t get enough gluten free recipes? I hear ya! Check out some of my favorite recipes on the blog:
Glazed Maple Donut Chai Donuts
Blueberry Cashew Coconut Granola Bars
If you are still reading this far, you definitely deserve a bite or two of this gluten free red velvet brownies recipe and if you make this recipe or any other recipe from the blog, be sure to tag @peanutbutterpluschocolate on Instagram and check me out on Facebook and Pinterest!
Also, don’t forget to leave me a comment after the recipe card at the bottom. I really love chatting with all of you, hearing about how your recipe turned out and answering any questions you have.
Happy Baking!
Thick and Fudgy Red Velvet Brownies
Equipment
- mixing bowl
- 8×8 inch baking pan
Ingredients
- ½ cup gluten free baking flour 1:1 or measure for measure
- ⅓ cup unsweetened cocoa powder
- 1 cup cane sugar
- ½ cup + 2 tbsp dairy free butter or coconut oil measured as a solid
- 9 oz semi sweet chocolate chips dairy free
- 3 eggs large
- 1 tbsp red velvet emulsion or 1 tbsp red food coloring
- ⅛ tsp sea salt
Instructions
- Preheat oven to 350 F and prepare a 8×8 inch pan with non-stick spray and parchment paper for easy removal.
- In a large heat proof bowl, add the butter, sugar and chocolate chips. Cook in the microwave on high until melted, stopping to stir every 20 seconds.
- Once smooth and melted, add the eggs in one at a time and beat using a whisk or hand mixer until incorporated. Stir in the red velvet emulsion.
- In another bowl, stir together the cocoa powder, gluten free baking flour and salt. Fold the dry ingredients into the wet ingredients until no dry spots remain.
- Transfer the batter to the prepared pan and bake for 20-25 minutes. You want to remove the brownies just before they are done for the ultimate fudgy brownie. If you stick a toothpick into the center of the brownies it shouldn't come out clean.
- Let cool for at least 2 hours before cutting into bars and serving.


Hi! Just wondering- what template did you use for your website? I want to use it on my blog at https://garminexpress.global
Hi! It’s a custom design by Bailey at Honeywave Creative